Professional Solar Companies: Professional Setup Of Photovoltaic Systems Can Substantially Reduce Your Energy Bills
Site Assessment and Preparation
Revealing the Land: Where Solar Dreams Begin
Before the sun's energy can be harnessed, a meticulous website evaluation should unfold. Imagine strolling onto your property and wondering, "Is this area really the golden ticket for solar panels?" This is where science fulfills instinct. Examining the land involves more than simply inspecting for sunlight; it's about comprehending how the environment will dance with your system throughout the year.
Secret Consider Website Examination
- Sunlight Direct exposure: Are shadows from trees, structures, or chimneys lurking where you plan to install? Even a small shadow can whisper away precious watts.
- Roofing System Orientation and Tilt: South-facing roofing systems typically take the show, however east or west can still play their part beautifully. The angle of your panels can transform early morning chills into afternoon warmth.
- Structural Integrity: Is your roofing a fortress ready to support photovoltaic panels, or does it require some strengthening? This action is crucial to prevent surprises after installation.
- Area Availability: Often, the very best spot isn't on the roof at all. Ground-mounted systems provide flexibility but need a various type of foundation.
Preparing the Canvas: Site Readiness
As soon as the ideal place is recognized, preparation starts. Think of it as setting the stage for a grand performance. The roof might require repairs, or trees may need a gentle trim. Clearing particles and guaranteeing the surface is tidy are small but substantial actions that pave the method for optimal panel placement.
Actions to Prepare Your Website
- Conduct an in-depth shading analysis utilizing specialized tools or apps.
- Inspect and enhance the roofing structure, if needed.
- Clear challenges that might obstruct sunshine, including thick branches.
- Plan circuitry routes and inverter placement to maximize effectiveness and security.
- Acquire any essential permissions or approvals for structural changes.
Why Does This Matter?
Consider the story of a house owner who eagerly installed panels without comprehensive website assessment, just to find power generation inconsistent. The offender? A single chimney casting a shadow in the late afternoon, minimizing output when energy need peaks. This shows an essential reality: the sun is foreseeable, however our environments are not. Every subtlety matters.
In the end, the preparation stage is the quiet designer of success. It turns raw potential into concrete, clean energy. When pondering solar panel installation, ask yourself: Have I truly read my home's solar story? Due to the fact that in that story lies the trick to sustainable power.
Exploring the Ranges of Solar Panels
Ever based on a roof and wondered why some solar panels gleam like black mirrors while others shimmer with a bluish tint? The secret depend on their material composition, which dramatically influences effectiveness and installation methods. 3 primary types dominate the marketplace:
- Monocrystalline panels: Crafted from a single crystal structure, these are the champions of performance, often boasting rates above 20%. Their consistent black appearance is streamlined however needs exact setup to take full advantage of performance.
- Polycrystalline panels: Made from several silicon fragments melted together, they provide a speckled blue appearance. Slightly less efficient than monocrystalline but usually more forgiving in setup nuances.
- Thin-film panels: These are versatile, lightweight, and less obtrusive, thanks to their amorphous silicon or other materials. Their lower effectiveness means more surface area is required-- a considerable consideration when preparing rooftop layouts.
Material Matters: Beyond Silicon
Silicon rules supreme, however did you understand that the substrate and encapsulants can make or break the panel's longevity? Glass with high transmittance, long lasting polymers, and advanced anti-reflective coverings are subtle heroes. A badly picked encapsulant can cause early yellowing, sapping energy output over time. It's a peaceful battle of products that the majority of installers ignore until efficiency dips.
Setup Insights: What the Pros Know
When mounting panels, the weight difference in between types matters. Thin-film panels weigh less, easing stress on older roofings. Nevertheless, their larger size demands more precise circuitry and assistance design. Monocrystalline panels, though heavier, can be spaced tighter, optimizing roofing real estate. Here's a fast rundown of specialist tips:
- Verify panel weight and roofing system load capacity before choice.
- Think about thermal expansion rates of panel products; mismatches can cause micro-cracks.
- Select mounting hardware compatible with the panel's frame product to avoid deterioration.
- Use reflective support products to enhance light capture in shaded spots.
Fun Truth: The Anecdote of the "Blue vs. Black" Argument
One installer once informed me about a client who demanded Best Home Solar Installation blue panels purely for visual appeals. Months later on, the customer observed a small dip in energy production compared to their next-door neighbor's black monocrystalline setup. This story echoes an universal reality: often, what looks excellent does not always perform finest. Yet, with the ideal angle and setup, even polycrystalline can shine.
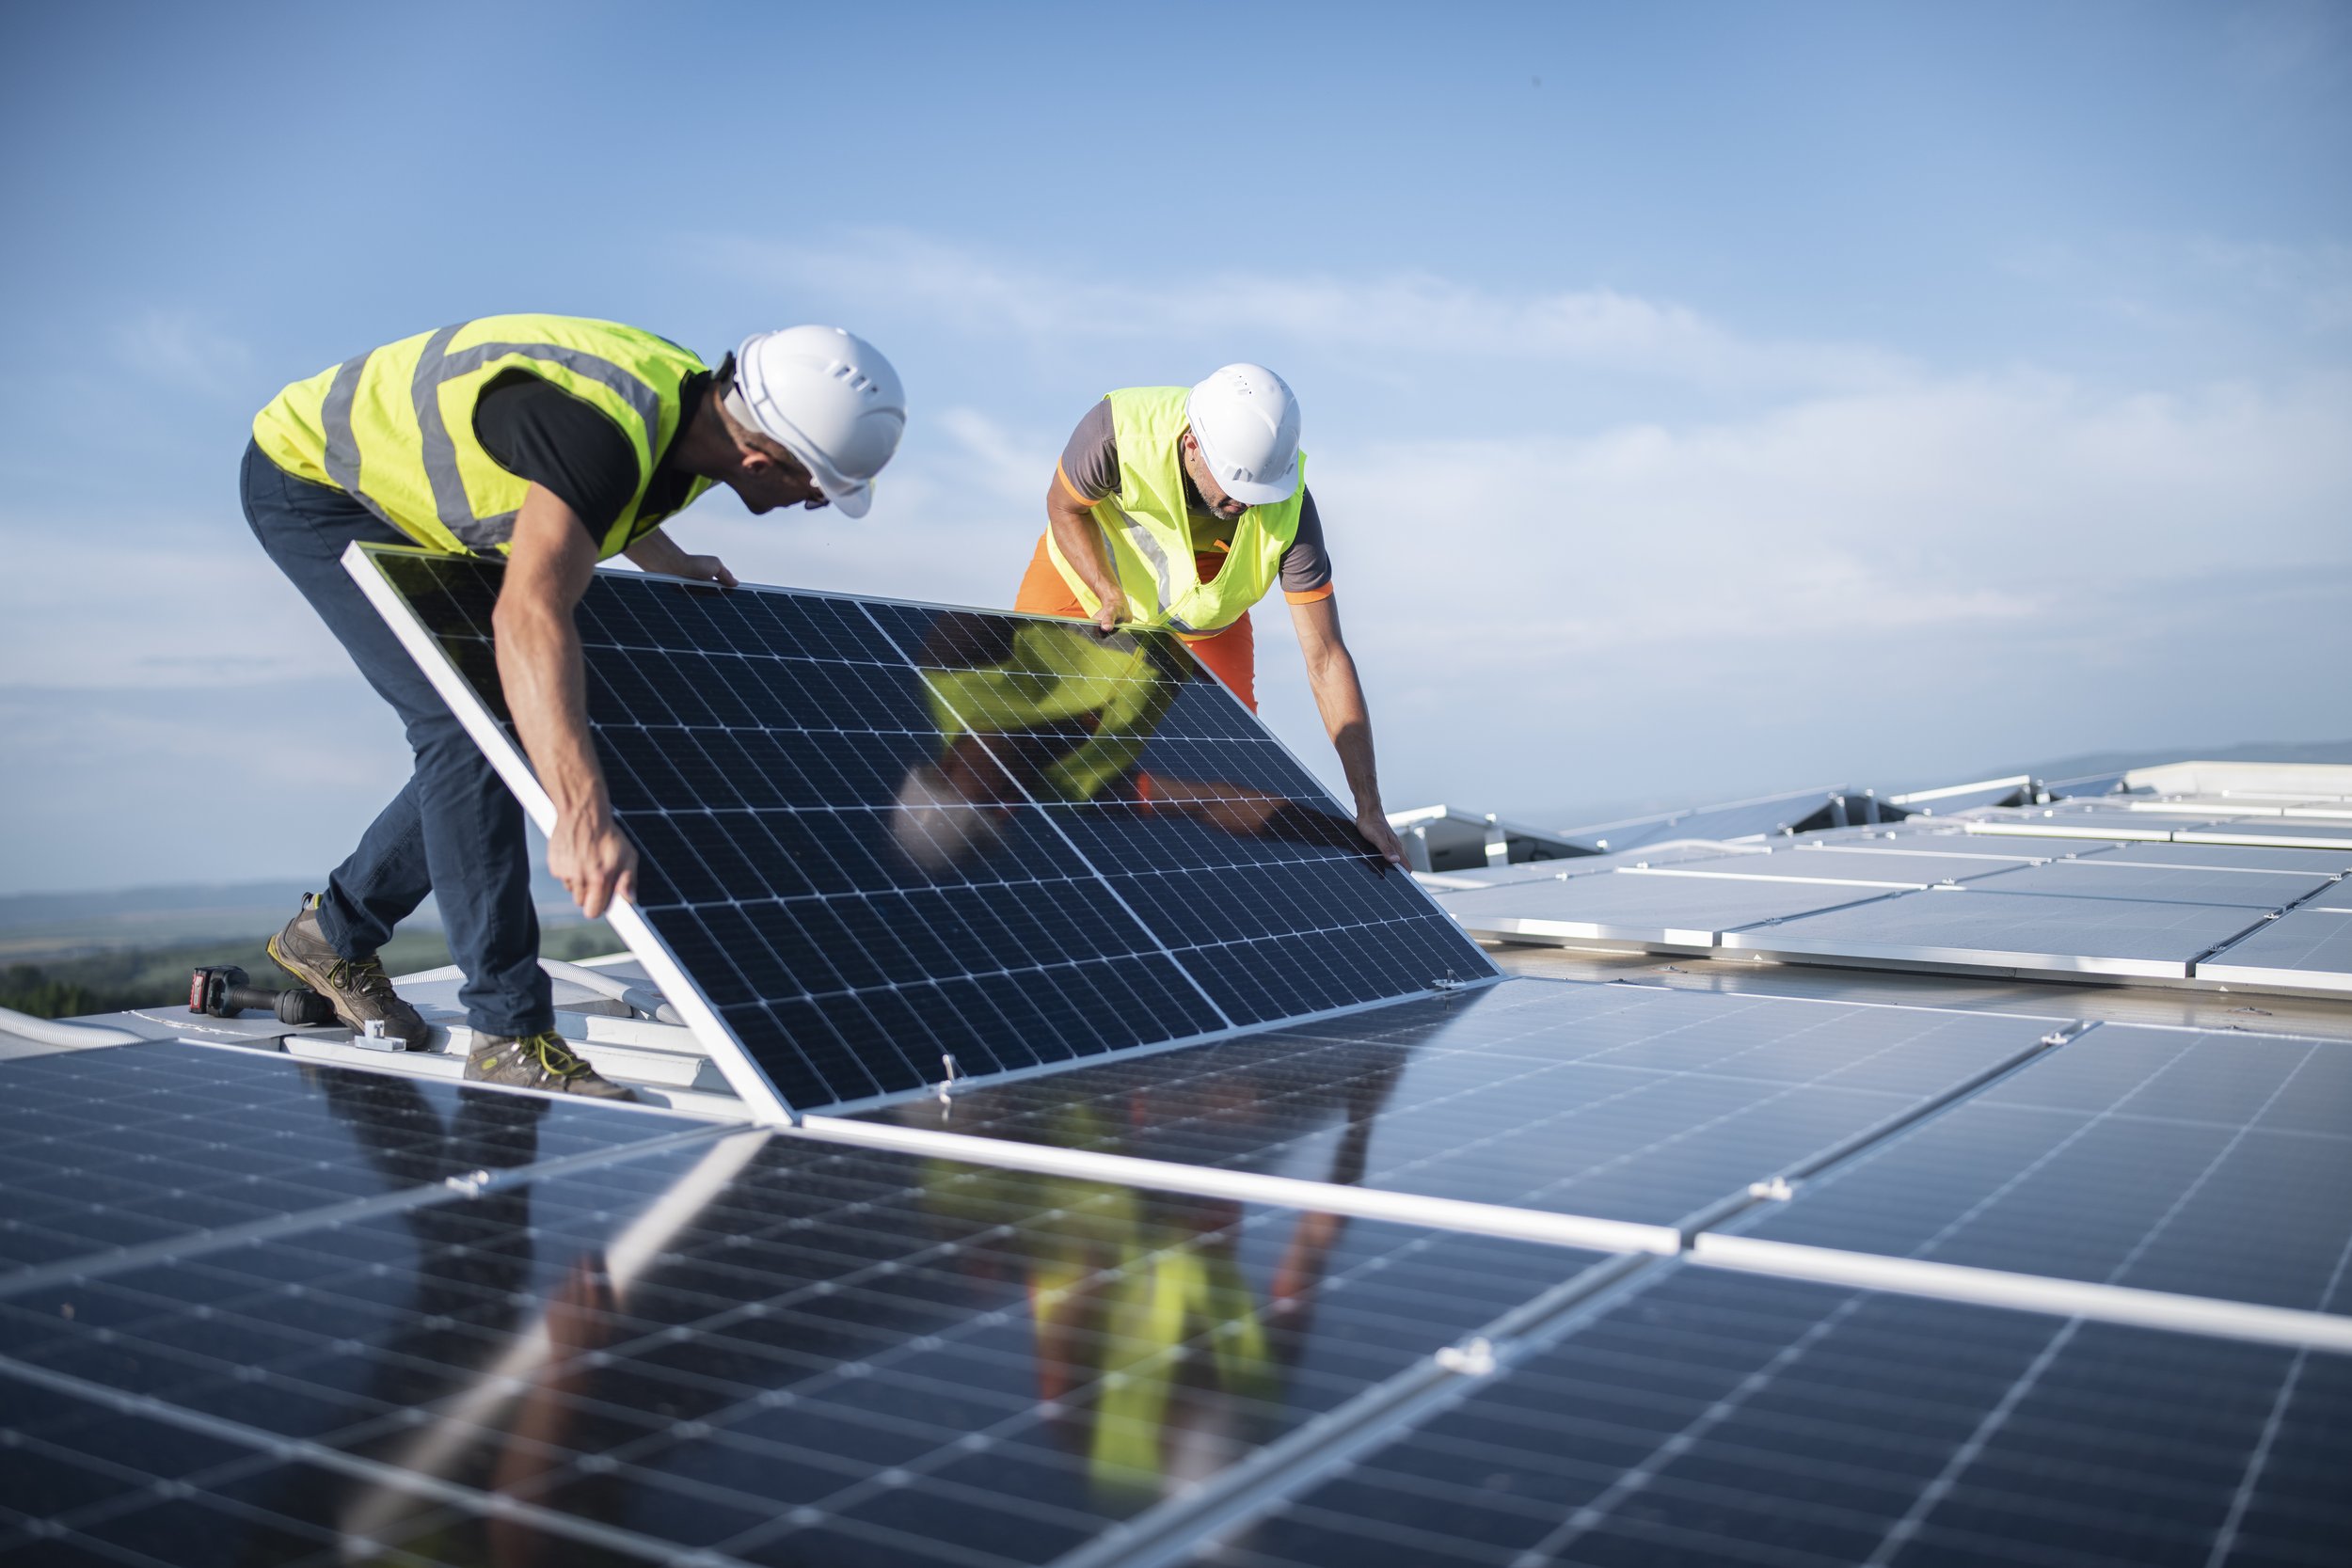
Installation Process and Techniques
Picture raising a panel onto your roof for the really first time. The dance in between accuracy and perseverance starts here. The photovoltaic panel installation process isn't simply about bolts and brackets; it's a mindful orchestration of angles, weights, and weather condition factors to consider. Have you ever contemplated how a slight misalignment can slash off precious energy production? That fraction of a degree can be the distinction in between a growing system and one that underperforms.
Step-by-Step Setup Insights
- Website Evaluation: Before any equipment touches your roofing, the evaluation stage involves evaluating roof orientation, shading elements, and structural integrity. This action goes beyond the surface-- actually. Knowing the roofing's load capacity is vital to avoid surprises later on.
- Mounting Setup: The choice between flush installs and adjustable racks depends upon your roofing system type and sun direct exposure. Adjustable racks offer a secret weapon-- fine-tuning angles seasonally to record optimum sunlight.
- Panel Positioning: Panels need to be spaced and secured to avoid thermal expansion issues and water pooling. Overlooking this can lead to warped panels or leakages, a subtle but expensive oversight.
- Electrical Links: Circuitry is where lots of setups falter. Using appropriate gauge wires, protected adapters, and waterproof junction boxes makes sure longevity and safety. Ever seen a panel system underperform because of loose or rusty connections? It's more typical than you may think.
- System Testing: Conducting a comprehensive efficiency check post-installation can catch issues before they intensify. Voltage tests, inverter performance, and tracking software application calibration are non-negotiable actions.
Pro Tips for Ideal Setup
- Think about microinverters or power optimizers to mitigate shading effects and maximize output from each panel.
- Incorporate a grounding system thoroughly to prevent electrical sound and secure against lightning strikes.
- Use corrosion-resistant installing hardware, specifically in coastal or damp environments, to extend system lifespan.
- Apply weatherproof sealants at every roof penetration to avoid future leaks-- a tiny lapse can result in years of water damage.
The Often-Overlooked Elements
Numerous installers overlook the subtle impact of roofing system pitch and seasonal sun angle variations. A flat roof setup might benefit from tilted racks angled differently for winter season and summer season. This versatility can boost annual energy yield by up to 15%. Likewise, the synergy in between panel spacing and air flow is vital. Panels that are too close together can trap heat, reducing efficiency-- a subtlety that just experienced installers appreciate.
| Installation Aspect | Expert Insight | Common Oversight |
|---|---|---|
| Mounting Type | Adjustable racks allow seasonal angle modifications. | Utilizing fixed installs on flat roofings. |
| Electrical Wiring | Correct gauge and waterproof adapters ensure durability. | Disregarding waterproofing leads to rust. |
| Panel Spacing | Enough space allows heat dissipation. | Panels too close cause getting too hot. |
Safety Procedures and Best Practices for Solar Panel Installation
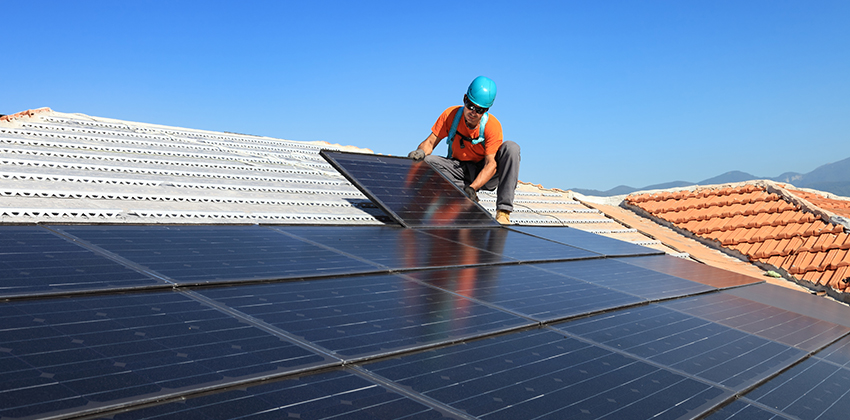
Ever attempted balancing on a roof while juggling sharp-edged photovoltaic panels? It's not exactly a Sunday walk. The most ignored element throughout solar panel setup is the careful attention to safety procedures that keep installers alive and well. The dance between weather, electrical energy, and heights demands a near-militant discipline.
Vital Safety Equipment: Your First Line of Defense
- Non-slip footwear: Slipping on a slick roofing can turn a regular job into a disaster.
- Harnesses and lanyards: Appropriate fall arrest systems are non-negotiable.
- Insulated gloves: Protect against electrical shocks, specifically when managing live wires.
- Protective eyeglasses: Guard eyes from UV rays, dust, and flying particles.
- Construction hats: Roofing work indicates unanticipated bumps-- don't ignore falling things.
One skilled installer when shared how a simple gust of wind almost sent out a panel-- and himself-- dropping. That close call enhanced why double-checking harness connections isn't simply procedure; it's survival.
Pre-Installation Planning: A Plan for Safety
Before stepping on the roofing system, a comprehensive site inspection is important. Are the shingles breakable? Is the roofing pitch precariously high? These factors determine the type of safety devices needed and the setup method. Overlooking them invites disaster.
Think about the electrical layout too. Solar ranges link to inverters, breakers, and house wiring-- all potential shock hazards if mishandled. Labeling circuits plainly and de-energizing systems when possible reduces threat tremendously.
Best Practices to Prevent Typical Hazards
- Weather check: Prevent installation throughout rain, snow, or high winds. Moisture integrated with electrical energy is a dish for disaster.
- Tool management: Secure tools with lanyards or tool belts. Dropped tools can hurt individuals listed below or damage panels.
- Two-person guideline: Never ever work alone on roofs. An additional set of eyes and hands can be a lifesaver.
- Clear communication: Establish hand signals or walkie-talkie systems when spoken cues get lost in wind or range.
- Panel handling method: Always lift panels with knees, not back, to prevent stress and maintain control.
Electrical Safety: Beyond the Basics
Lots of ignore the intricacy of DC voltage produced by panels. Unlike air conditioner, DC arcs are harder to extinguish, making arc fault defense devices indispensable. Understanding the electrical wiring schematic thoroughly before touching anything can prevent electrocution.
| Safety Component | Pro Suggestion | Why It Matters |
|---|---|---|
| Harness Inspection | Inspect for wear before each usage | Worn harnesses can stop working during a fall |
| Panel Orientation | Strategy layout to reduce awkward lifts | Prevents muscle injuries and panel damage |
| Electrical Isolation | Usage lockout/tagout procedures | Makes sure power is off during wiring |
Does the thought of working with high-voltage DC make you pause? It should. Appreciating the unnoticeable forces in play and preparing for them with the ideal security mindset transforms a dangerous job into a workable one.
Comments on “Solar Battery Installation: How Solar Panel Installation May Enhance Property Value”